The following procedure describes how to add a contact from the Organization record.
To add a contact:
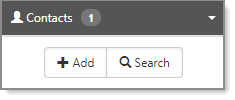
- Open the Organization record.
- In the Action Center, expand Contacts, and click Add.
The Add Contact form opens.
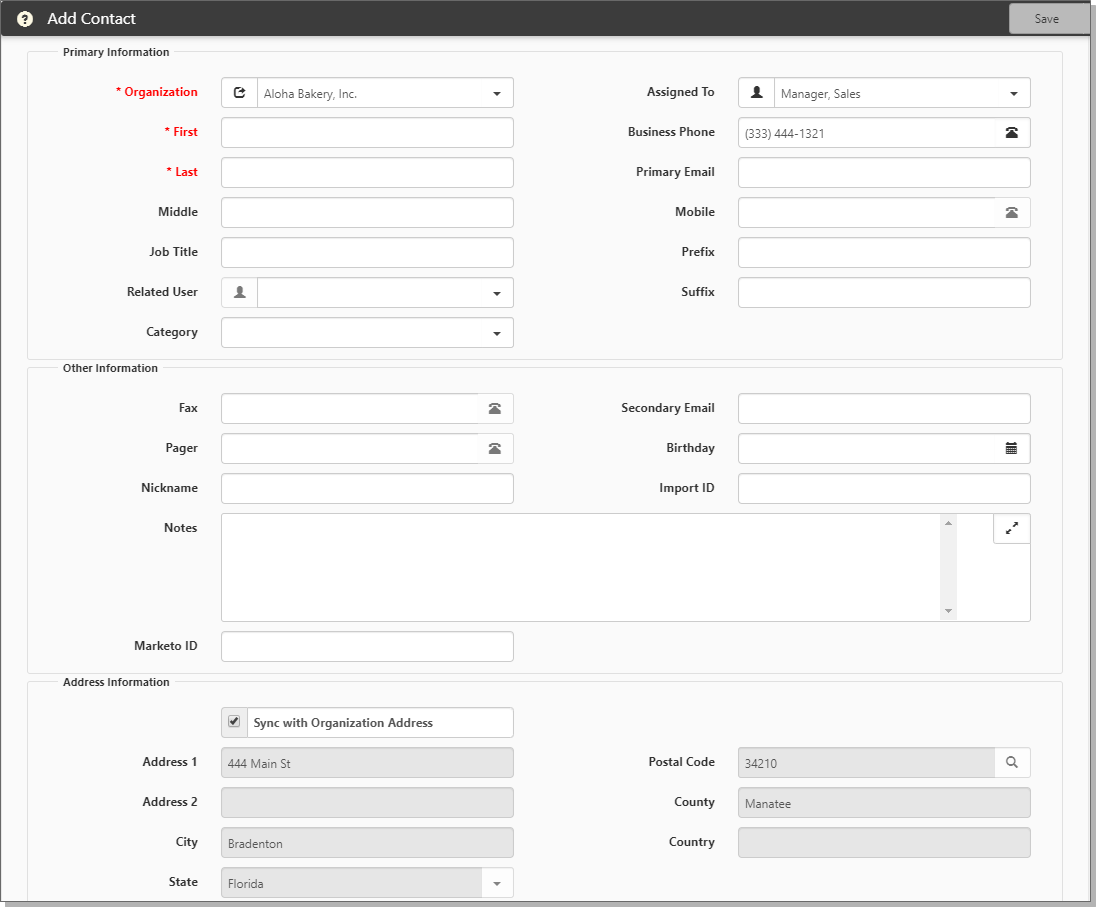
- Complete the form fields:
| Organization | Required. If you are adding a contact from an Organization record, this field is auto-filled with the Organization name. |
| First, Last, Middle | Required. Provide first and last names. Middle is optional. |
| Job Title | Required. Provide job title. |
| Related User |
If this contact has a User Profile, select their username from the list. Note: You can only link to an external user record for security reasons. If you select an internal user or attempt to change the Primary Email address of a contact linked to an internal user before this restriction was in place, the following hard error message displays: "Related User cannot be set to an internal user. For further assistance contact your Global Admin." Once you select a valid external user record, the following confirmation message displays: "Editing this field will synchronize data, including email address, between contact and user record. This could cause ClientSpace emails to be sent to incorrect email addresses. Are you sure you wish to continue?" Click Yes if you want to continue or click No to abort the action. |
| Category | Select a category that best fits the contact's role in the onboarding process: Payroll, Decision Maker, Operations, Other, Personal. |
| Assigned To | This is the salesperson who is responsible for onboarding the prospective client. |
| Business Phone | Contact's business phone number. To add a phone extension, type the full number with the extension: 11122233331234. It renders as (111) 222-3333 x:1234. |
| Primary Email | Contact's business email address. |
| Mobile | Contact's mobile phone number. |
| Prefix | Contact's prefix such as Mr, Mrs, Ms, Dr. |
| Suffix | Contact's suffix such as Jr. |
| Fax | Contact's FAX number. |
| Secondary Email | Contact's secondary email (if applicable). |
| Pager | Contact's pager number (if applicable). |
| Birthday | Contact's birthday. |
| Nickname | Contact's nickname (if applicable). |
| Import ID | Import ID is auto-filled if the Contact record was imported from another source such as Salesforce. |
| Notes | Notes are auto-filled if the data was imported from another source. |
| Sync with Organization Address | Select this option to auto-fill the address of the contact from the Organization record. Default is enabled (selected). |
| Address 1, Address 2 | Auto filled if you select Sync with Organization Address. |
| Postal Code, City, County, Country | Auto filled if you select Sync with Organization Address. |
| Active |
Default is Active (selected). To inactivate this contact, clear the option. When you attempt to inactivate a Primary Contact, a warning message displays, asking if you want to proceed. |
- Click Save when complete.
What's next?
Now that you have a contact set up, you can begin to record sales activities to help you track communication with the prospective client. See Activities.
To watch the video about Contacts, see Learning how: Contact Overview.